

 III
III
File Manager
How to edit, organize, and manage the files inside a Lander Upload.
This page shows you how to add, edit, and organize the files in a Lander Upload without uploading a new zip.
To open it, go to Landing Pages → Lander Uploads and click an upload's name.
The screen
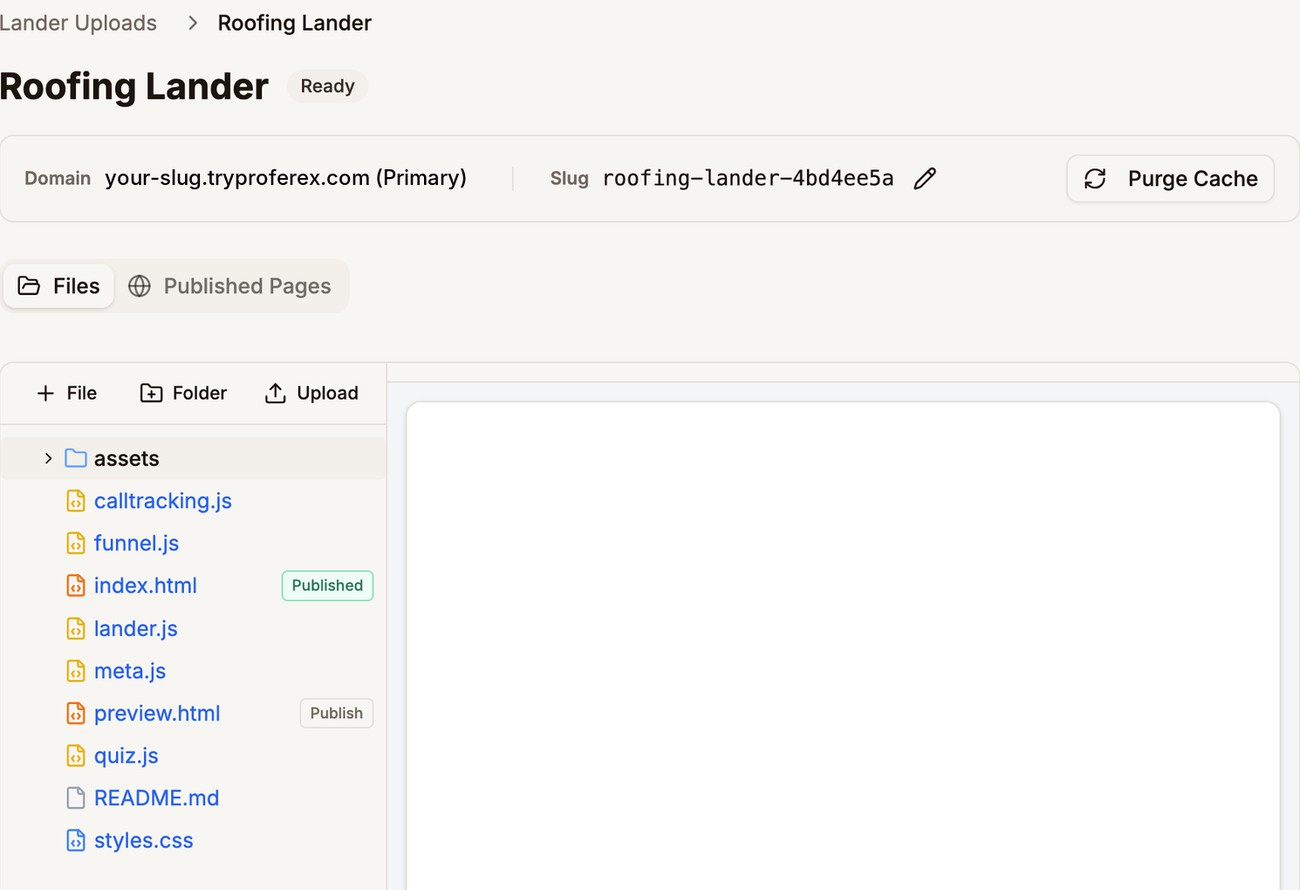
The bar at the top shows:
- Domain, the page domain the upload opens on.
- Slug, the upload's part of the address. The pencil changes it, but that breaks existing links, so do it before you send traffic. See Slugs.
- Purge Cache, which makes the live site show your latest files. See Seeing your changes live.
Below it, the Files tab holds the file manager. The Published Pages tab lists this upload's published pages. See Published Pages.
On the left is the file tree. Click a folder to open it, and click a file to open it on the right. Text files such as HTML, CSS, and JavaScript open in an editor. Images open as a preview.
Add files
- File creates a new file and opens it. Type a name such as
privacy.html, or a path such ascss/style.css. Any folders in the path are created for you. - Folder creates an empty folder.
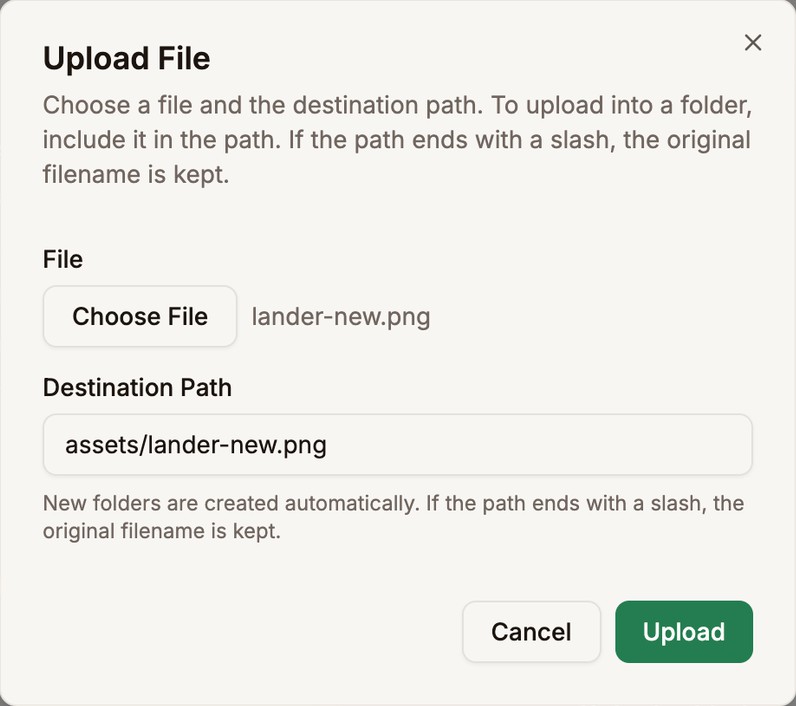
- Upload adds a file from your computer. Use it for images, fonts, and anything else you cannot type. Click Choose File, then set the Destination Path:
assets/hero.pngputs it at that exact path, with that name.assets/(ending in a slash) puts it in that folder and keeps its original name.
Add many files with a zip
To add a batch of files to an upload you already have, upload a .zip with Upload. Then hover over the zip in the tree and choose Extract Zip. The files are unpacked into the folder the zip sits in.
Extracting does not overwrite files that already exist, so delete old copies first if you are replacing them. The new files count toward your file and size limits.
Edit a file
Click a file, make your changes, and click Save. Until you save, the file shows a marker for unsaved changes, and Proferex warns you if you try to leave.
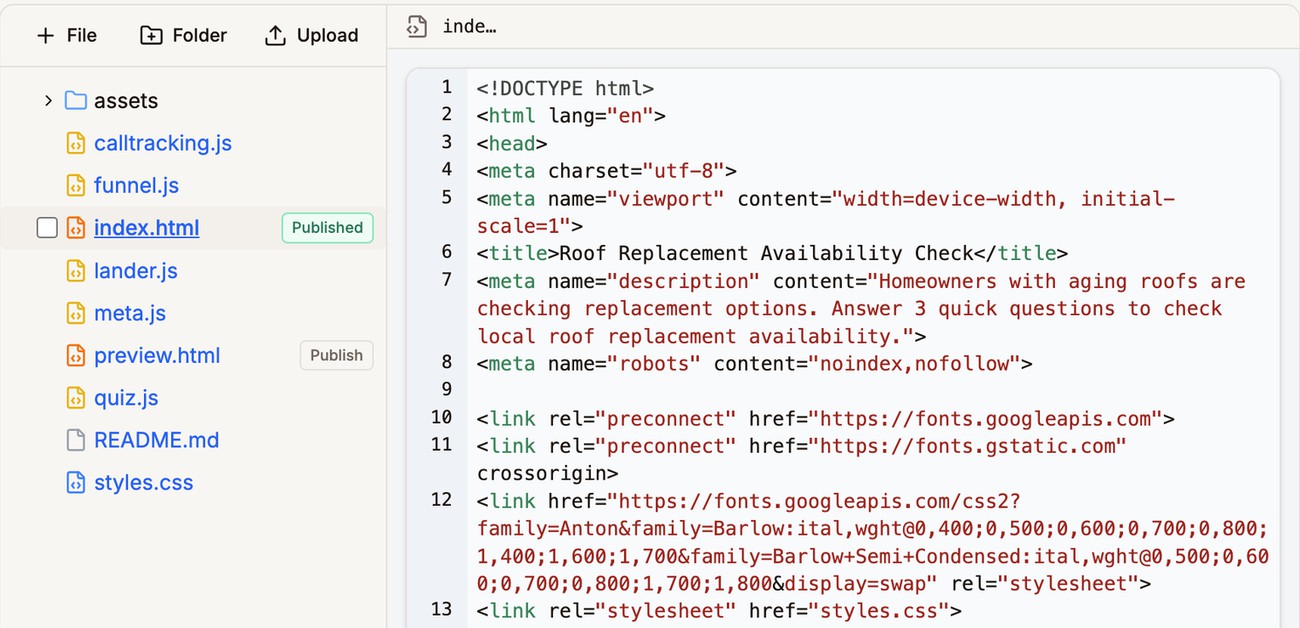
As soon as you save, the live page shows the new version.
The file menu
Hover over a file in the tree to open its menu. The file's path is at the top, and the details section shows its type, size, last update, status, address, and page name.
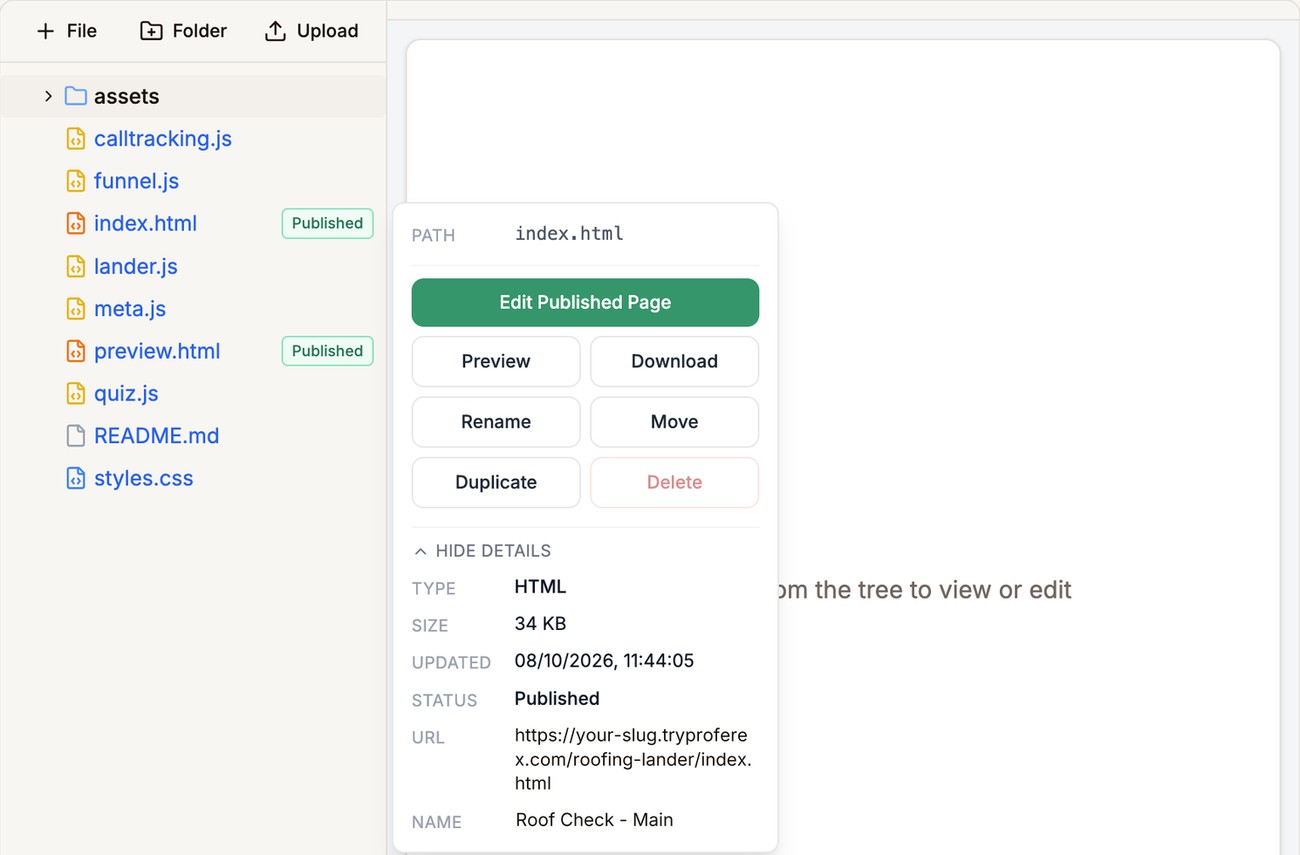
What each action does:
- Publish is on HTML files that are not published yet. Publishing lets you pick the page as a lander in the Tracker. The page is online either way. See Published Pages. On a published page, this becomes Edit Published Page.
- Preview opens the live page in a new tab. It shows up on HTML files once you have an active page domain.
- Download saves a copy to your computer.
- Extract Zip is on
.zipfiles. See Add many files with a zip. - Rename and Move change the file's name or place. A file's address comes from its path, so both change the address and break old links. A published page moves with its file, but its address still changes, so treat it like a slug change. Published and default pages must stay HTML files.
- Duplicate makes a copy next to the original. It is a quick way to start a variant of a page.
- Delete removes the file. You cannot delete a published page or the default page while it has that role. Unpublish it first, then delete the file.
Hover over a folder for its own menu: Rename, Move, Duplicate, and Delete Folder. You cannot delete a folder that holds a published or default page.
Work with many files at once
Hover over the tree to show checkboxes. Tick several files or folders, and a bar appears with the number you picked:
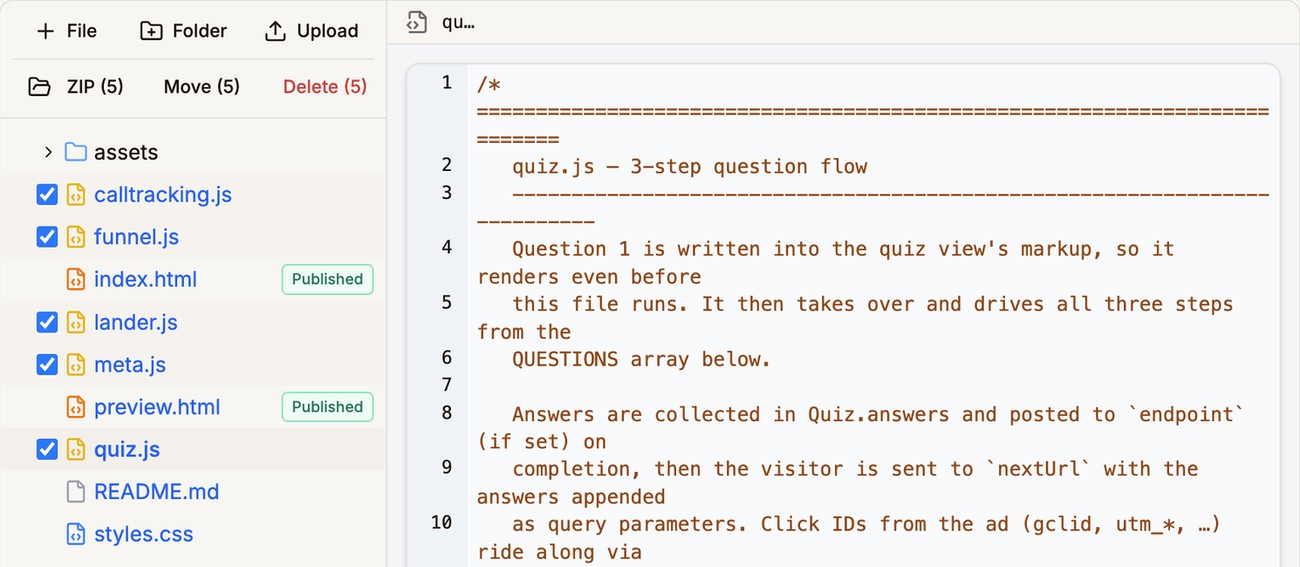
- ZIP downloads them as one zip, which is handy for a backup.
- Move puts them in another folder.
- Delete removes them. Published and default pages are skipped, and the dialog tells you which.
Seeing your changes live
Proferex keeps copies of your pages so they load fast. When you save in the editor, those copies are refreshed for you, so you never need to purge after normal editing.
Click Purge Cache when the live site still shows an old version after a change made outside the editor, for example after replacing a file with Upload or deleting one. It refreshes the whole upload and is safe to click any time.
If a page still looks old after a purge, your browser is probably showing its own saved copy. Try a hard refresh or a private window.
Next step
Publish the pages you want to use in campaigns. See Published Pages.