

 III
III
Create New
How to start a blank lander and build it by hand in the file manager.
This page shows you how to start an empty Lander Upload and build it yourself in the File Manager.
Use it when:
- You are pasting in code. An AI tool wrote your lander, or the HTML is in a document. Create the upload, add an
index.html, paste, and save. No zip needed. - Your lander is a single page. There is no point zipping one file.
- You want to build as you go. Add files one at a time and edit them in the browser.
If you already have a folder of finished files, Upload Zip is quicker.
Create the upload
Go to Landing Pages → Lander Uploads and click Create New.
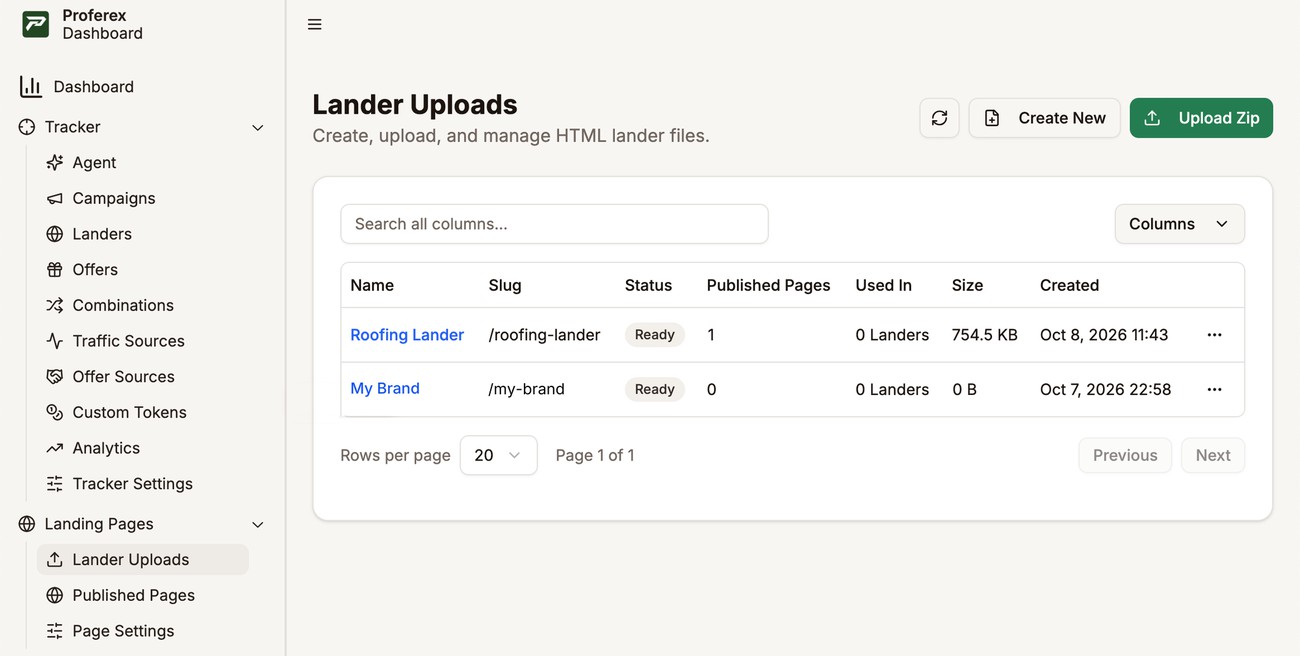
Landing Pages → Lander Uploads Type a Name and click Create. The name also becomes the start of the slug, so keep it short. You can change both later.
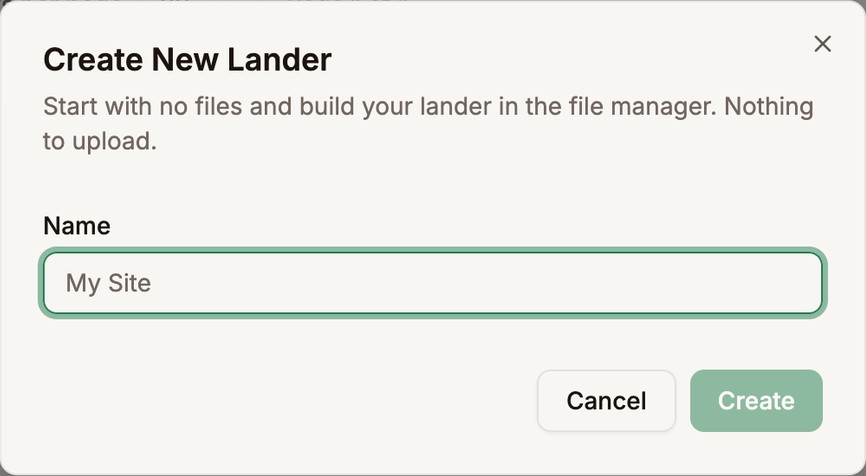
Name your new upload
The upload is ready straight away, since there is nothing to unpack, and it opens in the file manager with no files yet.
Add your first page
Click File and name the file
index.html. Use exactly that name. It is the page people see at the upload's main address.Paste or write your HTML in the editor and click Save. Once your page domain is active, the page is online.
If you want to use the page in a Tracker campaign, click Publish next to the file. Your first published page becomes the upload's default page, which Copy URL uses. A plain website can skip this step.
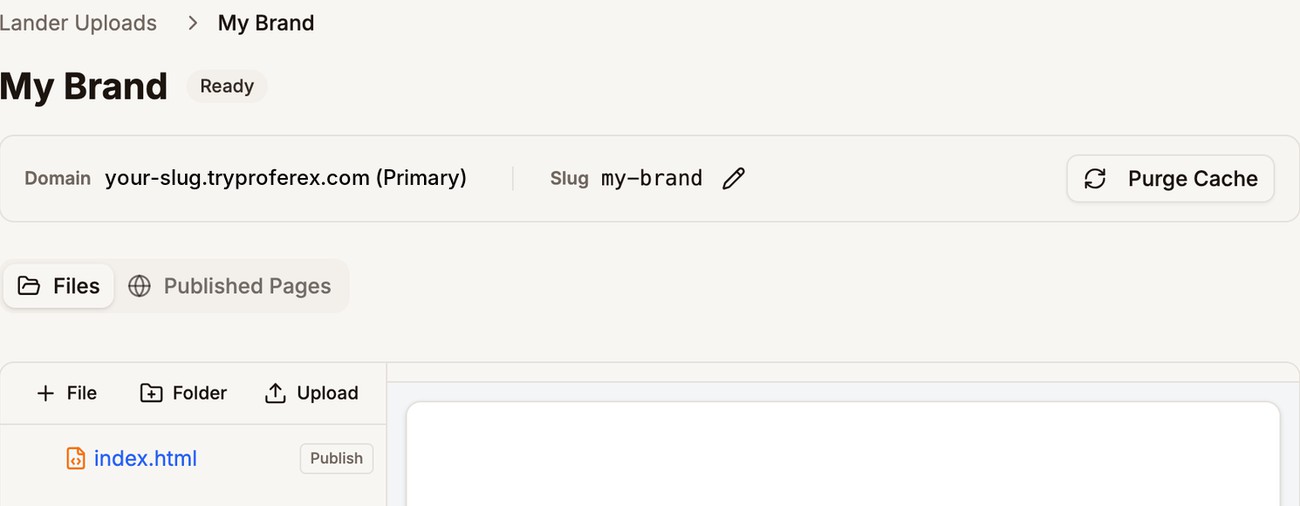
Add index.html, then publish it if you need it in a campaign
Add stylesheets, scripts, and folders the same way. Typing a path such as css/style.css creates the folder for you. To add images and other files you cannot type, use Upload. See File Manager.
An empty upload shows nothing until you add a file, so you can create one now and fill it in later. It works exactly like an uploaded one, with the same editing, publishing, addresses, and domain options.
Next step
Learn what else you can do with your files in the File Manager.