

 IV
IV
Offers
Add the offers you send your traffic to.
This page shows you how to add the offers you promote: the pages you send visitors to and get paid for when they convert.
An offer usually comes from an offer source, such as an affiliate network or an advertiser you work with directly. Your campaigns send visitors to your offers, either straight from the ad or through a lander. Add each offer once and use it in as many campaigns as you like.
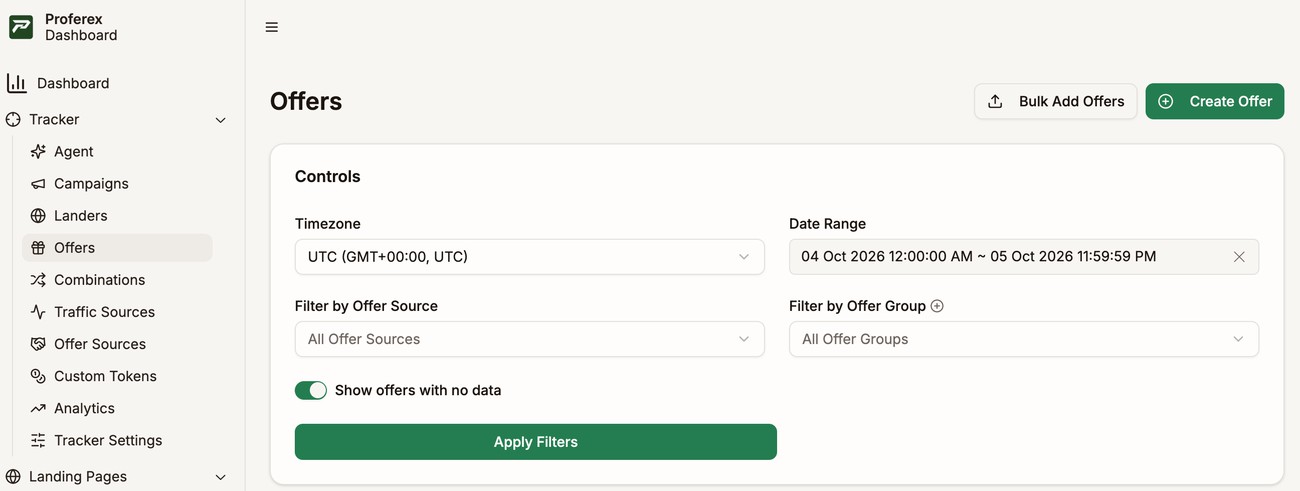
Go to Tracker → Offers to see yours. Click Create Offer to add one, or Bulk Add Offers to add many at once.
Add an offer
Click Create Offer and fill in the form.
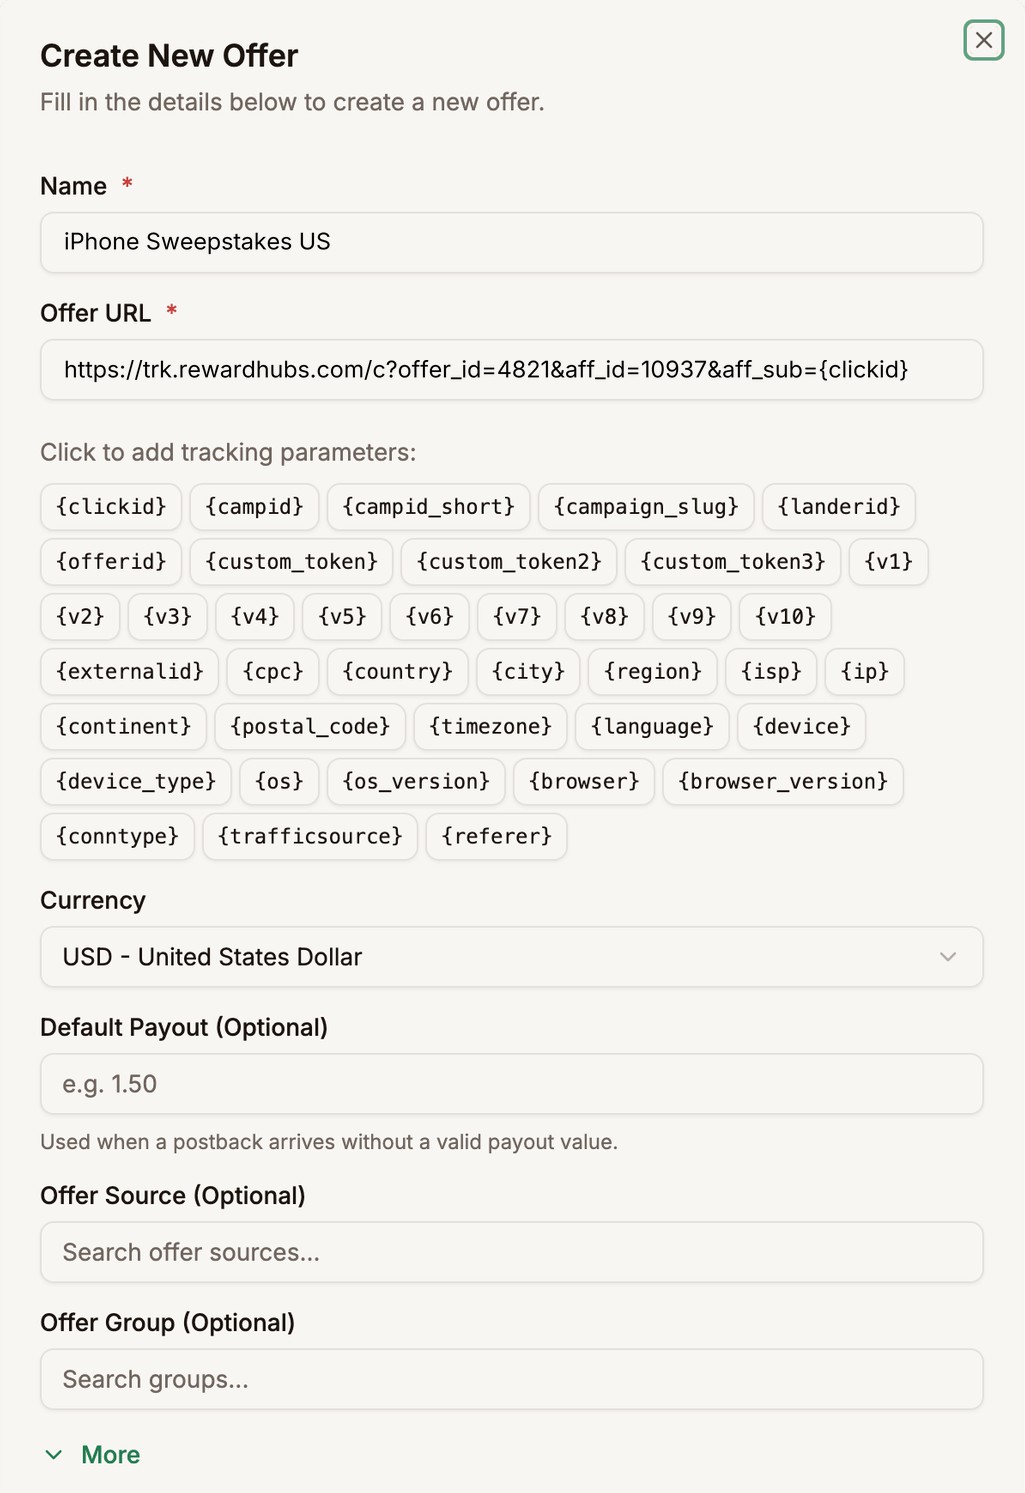
| Field | What to enter |
|---|---|
| Name | A name you will recognise in reports, such as iPhone Sweepstakes US. |
| Offer URL | Your tracking link for the offer, from your offer source. See below. |
| Currency | The currency the offer pays you in. |
| Default Payout (Optional) | What a conversion is worth, if your offer source doesn't send it. See Payout and currency. |
| Offer Source (Optional) | Where the offer comes from. See Offer source. |
| Offer Group (Optional) | A group to keep related offers together. See Offer group. |
Offer URL
Copy your tracking link for the offer from your offer source, and paste it into Offer URL.
Then add {clickid} to it, in the parameter your offer source uses for your own tracking ID. This is the standard setup, and almost every offer needs it. It is often called something like aff_sub, subid, or s1. Your offer source's tracking settings tell you which one to use.
https://trk.rewardhubs.com/c?offer_id=4821&aff_id=10937&aff_sub={clickid}When someone clicks through to the offer, Proferex fills in the click ID. Your offer source then sends it back with each conversion, through your postback, so Proferex knows which click converted.
Sub ID
You can also send your offer source a sub ID: a value that tells it where the traffic came from, such as the traffic source's campaign and zone. You then see in your offer source's own reports which sub IDs convert, and so does your affiliate manager.
The best way to send it is with a custom token. Put {custom_token} in your offer source's second sub ID parameter, often aff_sub2, subid2, or s2:
https://trk.rewardhubs.com/c?offer_id=4821&aff_id=10937&aff_sub={clickid}&aff_sub2={custom_token}Each campaign then decides what goes into it, with its own custom token template, such as {v1}_{v2} for the campaign ID and zone. Campaigns without one use their traffic source's default template. That way one offer works in campaigns on any traffic source, and you never have to edit its Offer URL.
You can also put tracking parameters straight into the Offer URL. For example, {campid} sends the campaign ID and {country} sends the visitor's country:
https://trk.rewardhubs.com/c?offer_id=4821&aff_id=10937&aff_sub={clickid}&aff_sub2={campid}&aff_sub3={country}You can join several values in one parameter too. Proferex fills in each parameter and keeps your own text as you typed it, so aff_sub2={v1}_{v2} sends something like 48211_9921. The difference from a custom token is that this is fixed in the offer, so every campaign that uses it sends the same values.
Tracking parameters
These are the tracking parameters you can add to an Offer URL. Proferex fills each one in with the value for that click.
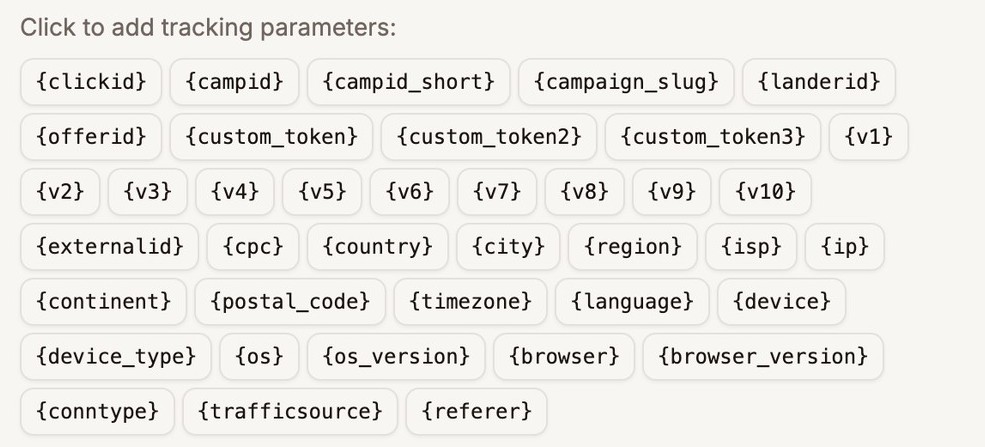
| Parameter | What it holds |
|---|---|
{clickid} | Proferex's click ID |
{campid} | Campaign ID |
{campid_short} | Short campaign ID |
{campaign_slug} | Campaign slug |
{landerid} | ID of the lander the visitor came through |
{offerid} | Offer ID |
{custom_token}, {custom_token2}, {custom_token3} | Your custom tokens. See Custom Tokens |
{v1} to {v10} | The values your traffic source sent in its v1 to v10 rows. See v1 to v10 |
{externalid} | The traffic source's click ID |
{cpc} | What the click cost |
{country} | Country code |
{city} | City |
{region} | Region or state |
{isp} | Internet provider |
{ip} | IP address |
{continent} | Continent code |
{postal_code} | Postal or ZIP code |
{timezone} | Timezone, such as America/New_York |
{language} | Browser language |
{device} | Device name |
{device_type} | Device type |
{os} | Operating system |
{os_version} | Operating system version |
{browser} | Browser |
{browser_version} | Browser version |
{conntype} | Connection type |
{trafficsource} | Traffic source name |
{referer} | The page the visitor came from |
Most offers need {clickid} and, optionally, a sub ID sent as {custom_token}. You can add any of the others if your offer source has spare parameters and you want to see those details in its reports.
Payout and currency
Most offer sources send the payout with each conversion, and Proferex records that. Default Payout is only used when a conversion arrives without one. If your offer pays a fixed amount, enter it here to be safe.
Set Currency to the currency the offer pays you in. Proferex converts every payout to your own currency in reports, so offers that pay in different currencies are easy to compare.
Offer source
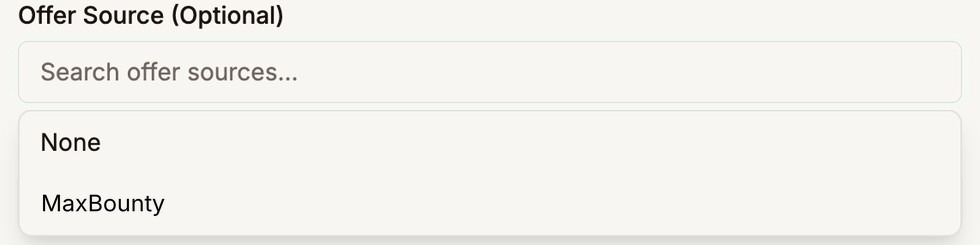
Pick the affiliate network or advertiser the offer comes from. This lets you compare your offer sources in reports. If it isn't in the list yet, add it first. See Offer Sources.
Offer group
Groups keep related offers together, for example all your offers for one country or one vertical. You can then filter your offers by group, and compare groups in Analytics.
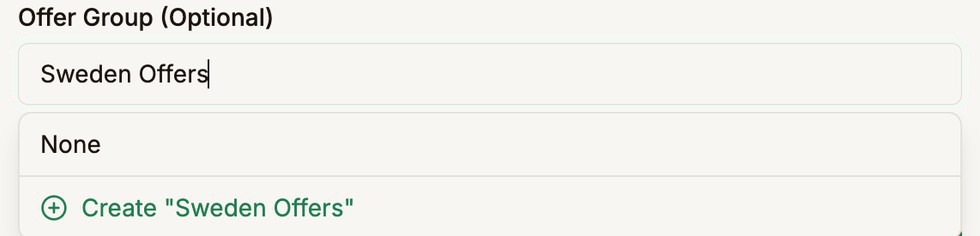
To make a new group, type its name in Offer Group and click Create.
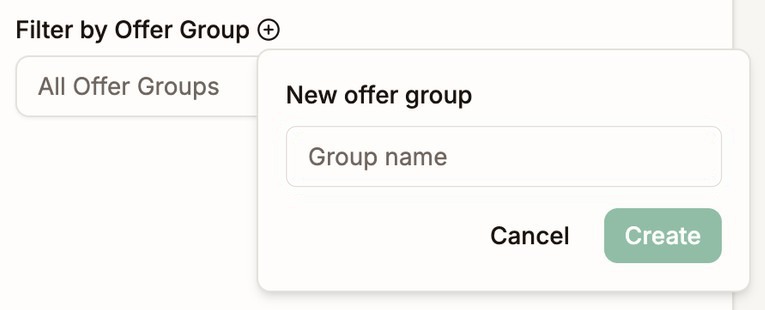
You can also make a group straight from the Offers page, without opening an offer. Click the + next to Filter by Offer Group, type a name, and click Create.
Conversion cap
Some offers only pay for a set number of conversions a day, week, or month. Open More and turn on Conversion Cap to match it.
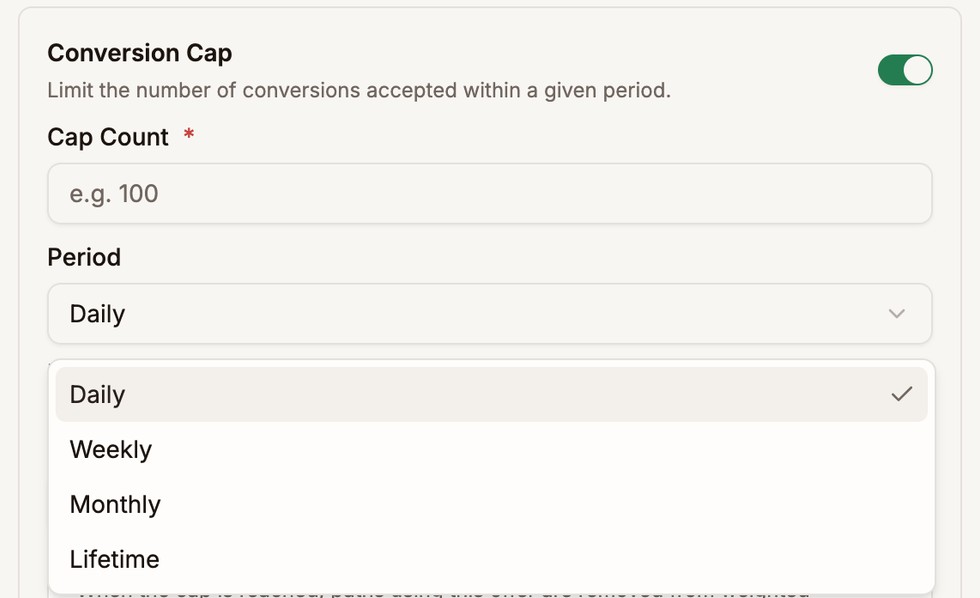
- Cap Count is how many conversions the offer accepts.
- Period is when the count starts again: Daily, Weekly, Monthly, or Lifetime.
- Timezone sets when the day, week, or month starts. It isn't needed for Lifetime.
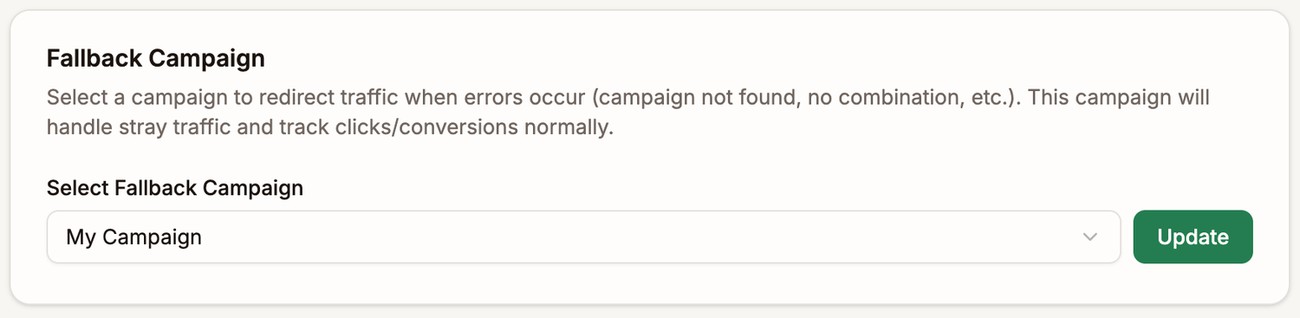
When an offer reaches its cap, Proferex stops sending visitors to it until the next period starts. Your campaigns send them to their other offers instead, so give each campaign at least one other offer. If none is left, visitors go to your Fallback Campaign. Set it in Tracker → Tracker Settings: pick a campaign and click Update.
The cap only stops new visitors. People who clicked before the offer was capped can still convert, and those conversions show in your reports as normal.
More also has a Notes box for anything you want to remember about the offer, such as its terms or your contact at the offer source. You can also read and edit notes on the offer's own page.
Add many offers at once
Click Bulk Add Offers to add a whole list of offers in one go.
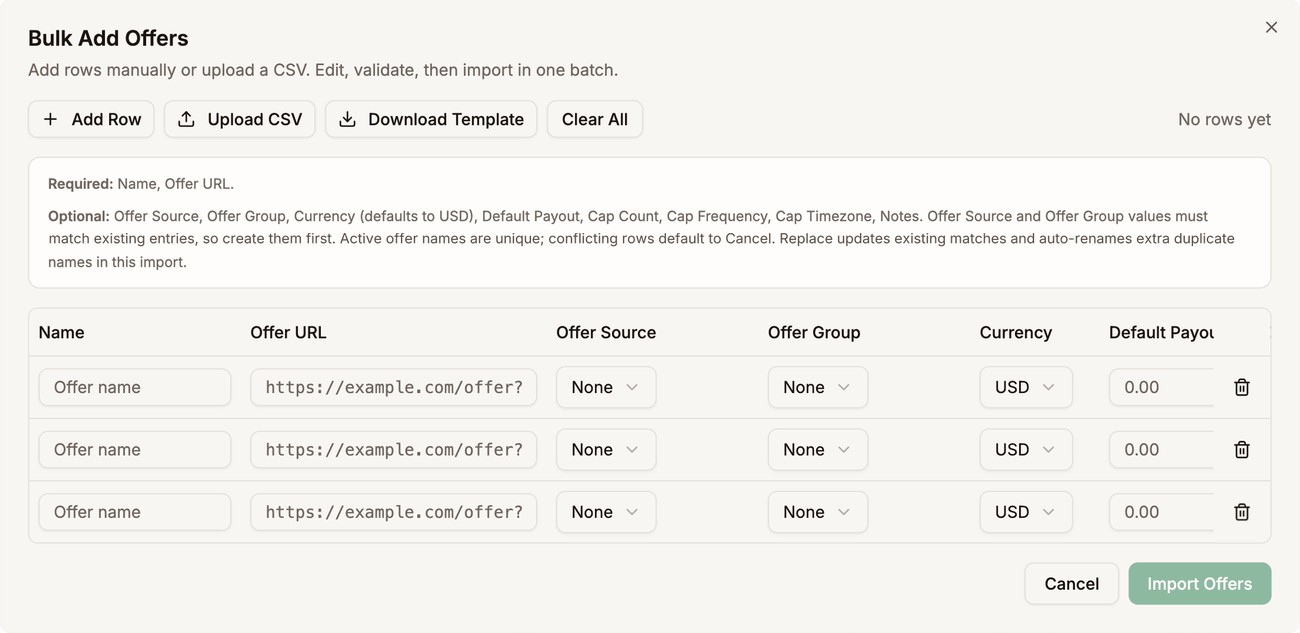
- Add Row adds an empty row to fill in.
- Upload CSV fills the rows from a spreadsheet. Click Download Template first to get a file with the right columns.
Each row needs a Name and an Offer URL. The other columns are optional. Any offer source or offer group you use must already exist, so create those first.
If an offer with the same name already exists, or two rows in your list share a name, choose what to do with it:
- Cancel skips that row.
- Replace updates the existing offer with the details in the row. Any column you leave empty is cleared or set back to its default, such as USD for Currency. If two rows share a name, the second one is added with a number instead.
- Duplicate adds it as a new offer, with a number added to its name, such as
Keto Diet UK (2).
Your choice applies to every row with a matching name. To choose for each row, pick Choose Manually. You can also set it in your CSV, in the conflict_action column: cancel, replace, or duplicate. Proferex then switches to Choose Manually for you, so you can check each row before you import.
If a row has a problem, such as an offer source that doesn't exist or a broken Offer URL, it is highlighted with the reason. Nothing is imported until every row is fixed, so you never end up with half a list.
Check the rows, then click Import. The button shows how many offers you are adding, such as Import 3 Offers.
See how each one performs
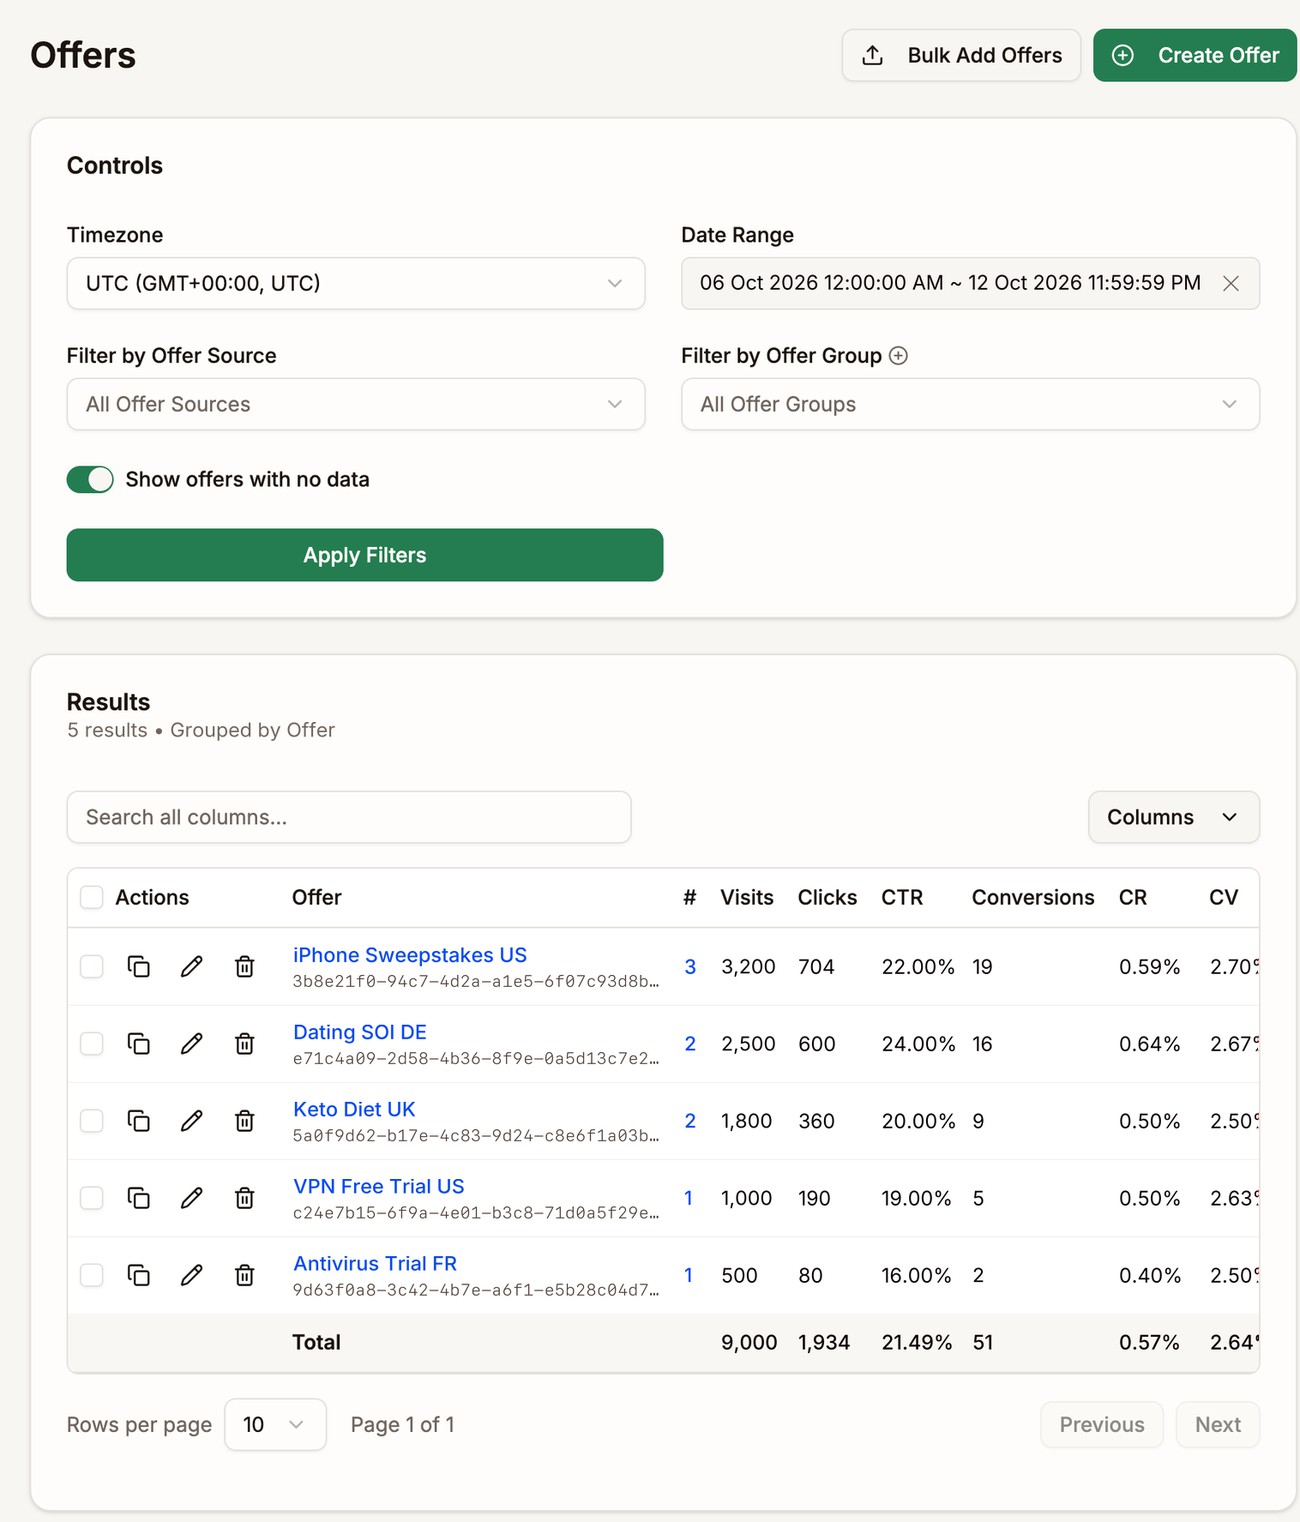
The list shows each offer's visits, clicks, conversions, and the rest of your numbers for the date range you pick. Use Filter by Offer Source and Filter by Offer Group to narrow it down. Click a name to break an offer's numbers down by campaign, lander, country, and more. See Reading Your Stats and Drill-Downs.
Edit, duplicate, or delete
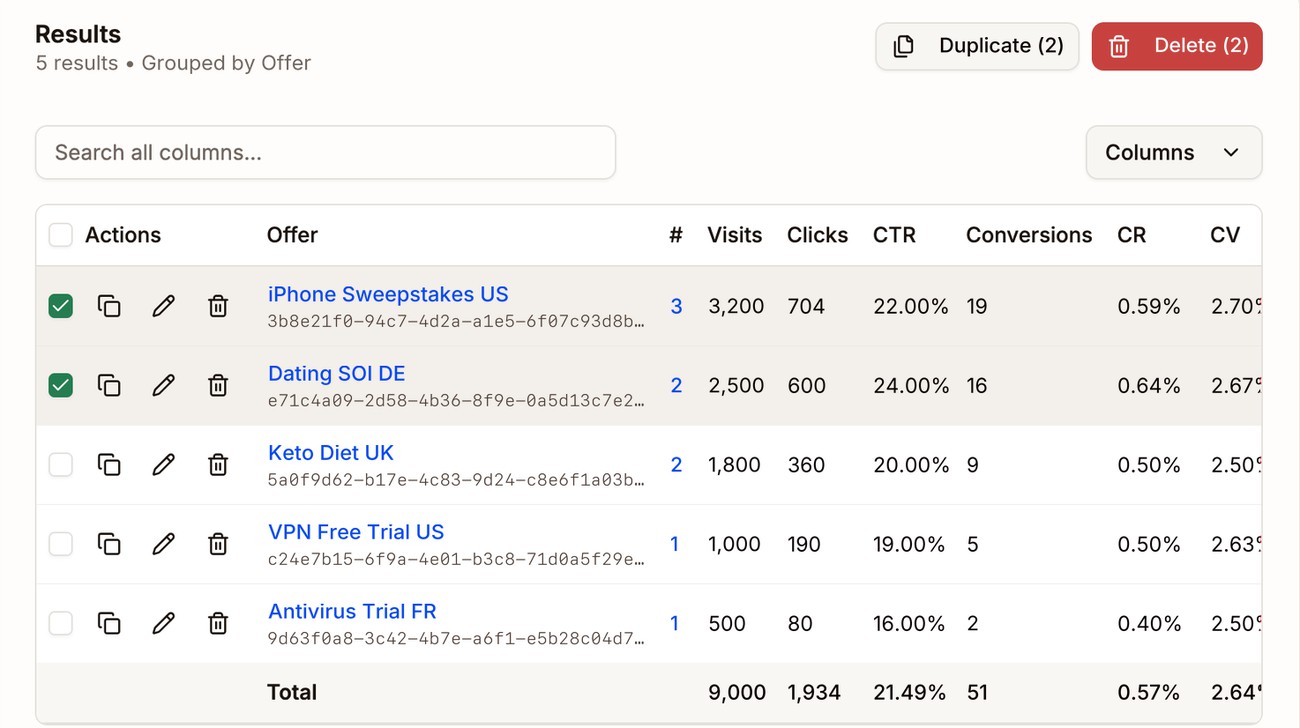
Each row has three icons:
- Copy copies the offer URL.
- Edit opens the offer's settings.
- Delete removes the offer. You can't delete an offer while a combination uses it, so remove it from your combinations first. If the offer already has conversions, Proferex asks you to confirm. Those conversions stay in your reports, marked as deleted.
Tick several rows to duplicate or delete them all at once. Duplicate and Delete appear at the top, with the number you picked. You can also duplicate an offer from the ⋯ menu on its own page. The copy keeps every setting, and its name ends in (Copy).
Duplicating is a quick way to add the same offer for another country or payout. Change the name and the Offer URL, and you are done.
Next step
Add your landers: the prelanders that warm up your visitors for your offers. See Landers. If you send visitors straight to your offers with a direct offer, go on to Combinations.